Understanding Your Substrate
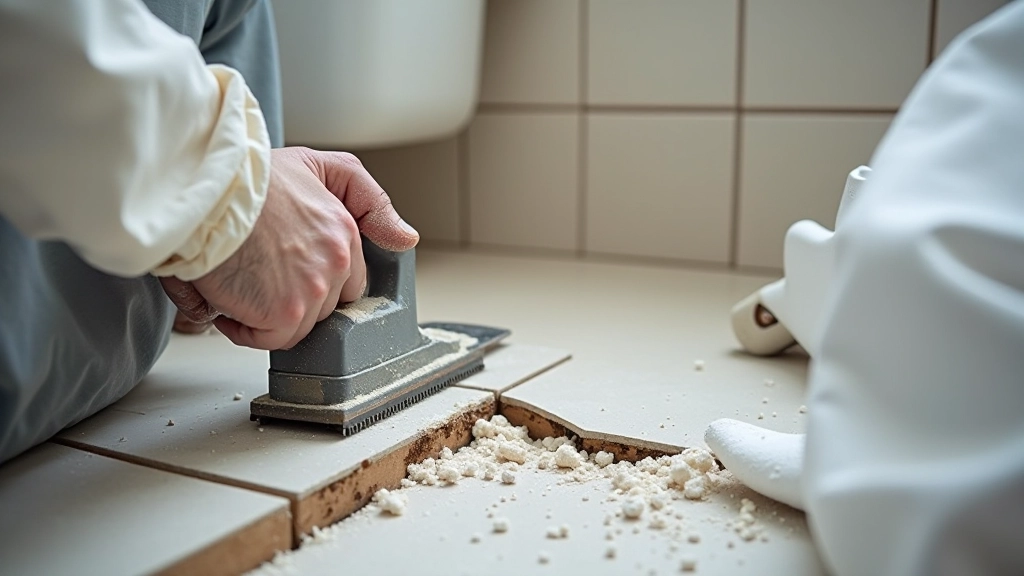
Before mortar touches tile, your surface has to be right. That's not just clean — it's structurally sound, level, and ready to hold weight. Most bathroom walls need some prep work. You're looking at ensuring the substrate is firm, dry, and flat to within 3mm over 3 meters. Any soft spots, movement, or moisture issues will cause tiles to crack later.
If you're working over existing tile, you've got two paths. Grind off the old stuff completely, or use a leveling compound over it if the surface is solid and not too uneven. Don't shortcut this part. Tiles will telegraph every imperfection underneath them.
Mixing and Applying Mortar

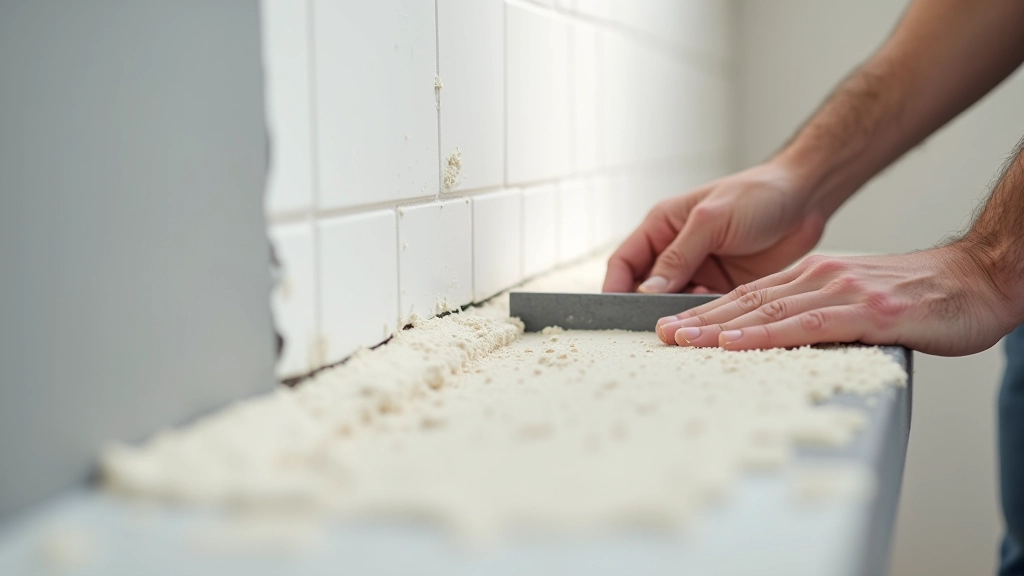
Mortar consistency matters more than people realize. It's not just about sticking tiles down — it's about how you spread it and how tiles set. You're aiming for a creamy peanut butter texture. Thick enough to hold ridges from your trowel, loose enough to spread without tearing. Too dry and tiles won't bed properly. Too wet and they'll slide around.
Mix only what you'll use in 30-40 minutes. Mortar starts setting once it's mixed, and re-wetting it with water weakens it. Use a mixing paddle in a drill — hand mixing never gets the consistency right. Add powder to water, not water to powder. It's a small detail that prevents lumps and ensures uniform strength.
Spread mortar with the flat side of your trowel first, then comb it with the notched edge at a 45-degree angle. This creates uniform ridges that collapse when tiles are pressed in. You'll see the ridges fill in completely — that's the sign you've got full coverage underneath.
Note: This guide is educational and informational. Tile installation involves working with tools, adhesives, and materials that require careful handling. Always follow manufacturer instructions for mortar and grout products. Safety practices vary by location and material type. If you're unsure about structural issues or moisture problems, consult a qualified professional before proceeding.
Layout Planning and Spacing
Layout is where a lot of DIY projects reveal themselves. Unplanned spacing creates slivers at edges or asymmetrical patterns that look amateurish. Start by finding the center of your wall, then work outward. This keeps visible areas balanced. Measure twice, mark your center line with chalk, then dry-lay tiles without mortar first.
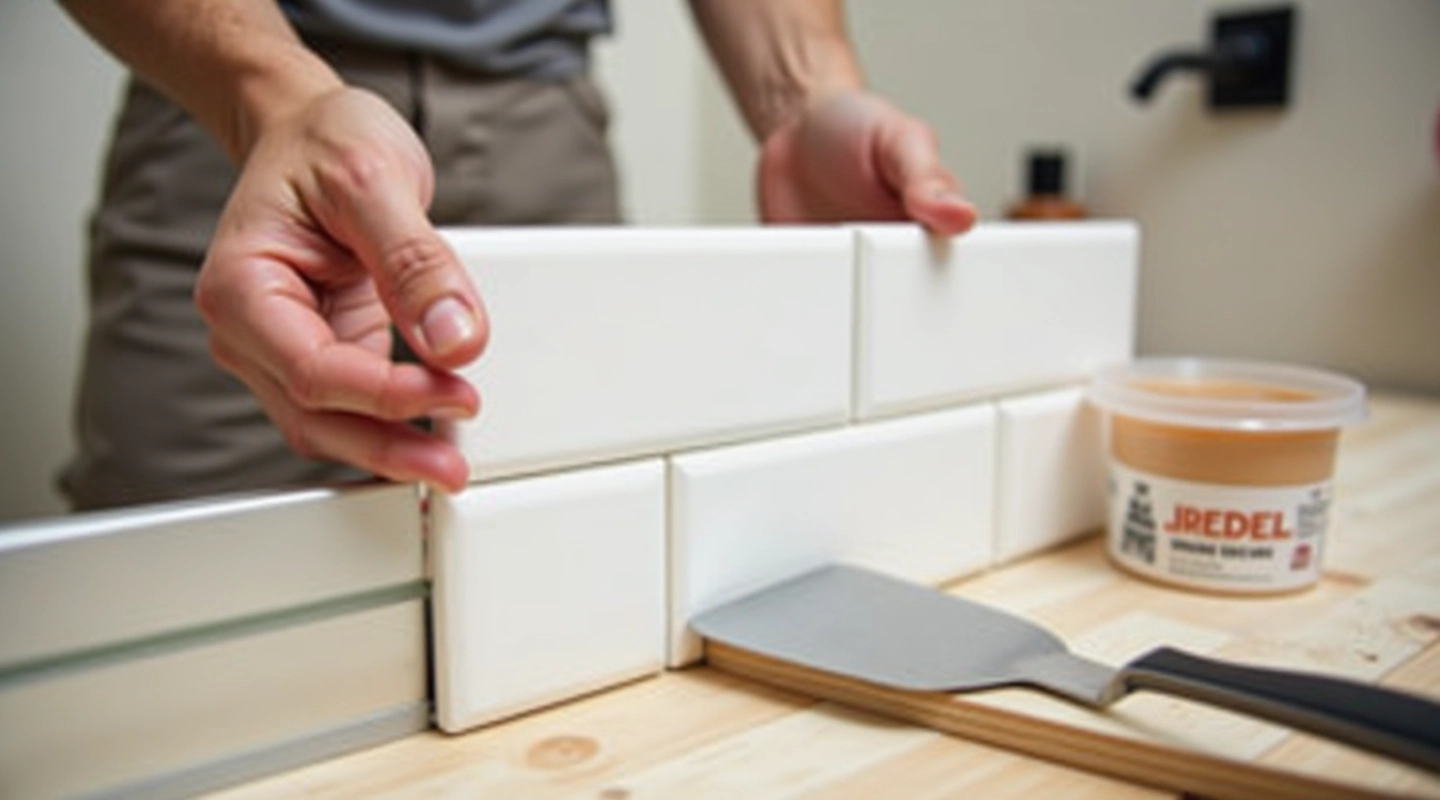
Spacers are your friends. They maintain consistent grout lines and make the final result look professional. Standard bathroom tile uses 3mm or 4mm spacers. Lay spacers between every tile — don't estimate spacing by eye. It won't be consistent, and it shows in the finished job.
Edge tiles need planning too. Avoid narrow slivers at corners or where walls meet. If your layout creates a sliver less than half a tile width, adjust the starting point slightly. A few millimeters shifted from center usually solves it. Better to spend 10 minutes adjusting the layout than live with a visibly unbalanced wall.
Setting Tiles and Leveling
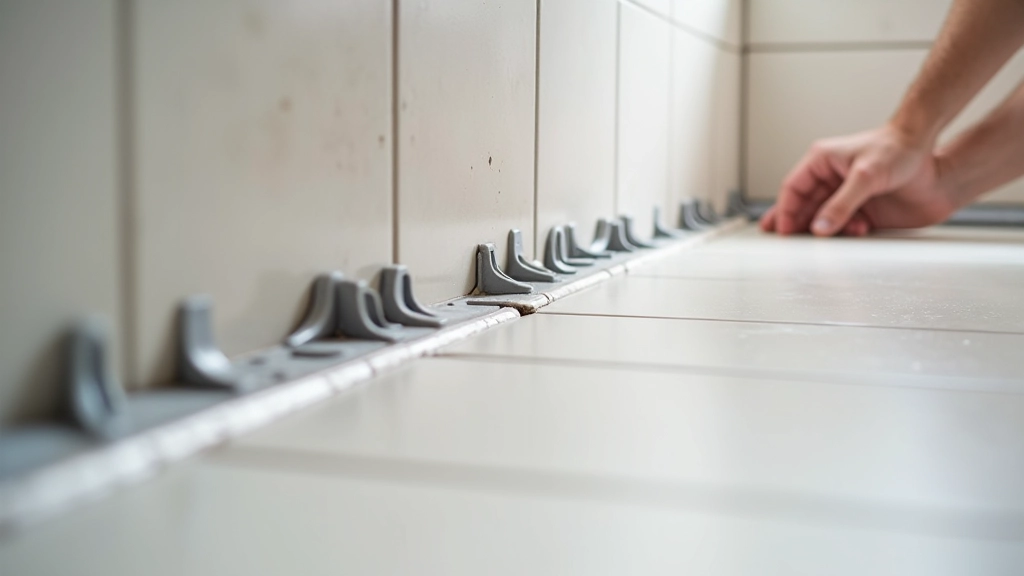
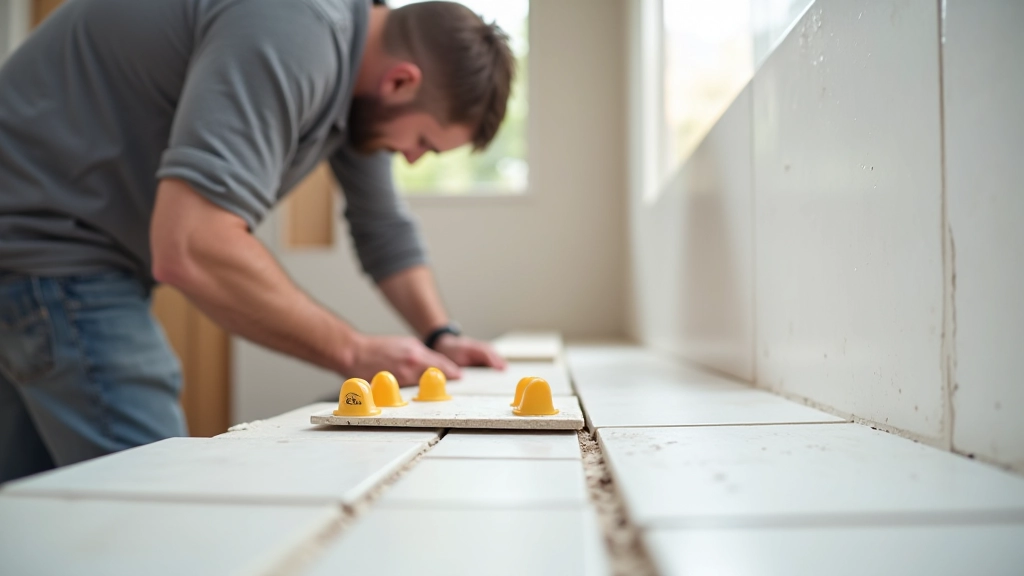
Pressing tiles into mortar is about consistent pressure and checking level frequently. Don't just push and move on. Press each tile straight in, then check it's level both directions with a 2-foot level. Twist slightly to ensure mortar beds fully underneath. You'll feel when it seats properly — the tile stops moving and sits solid.
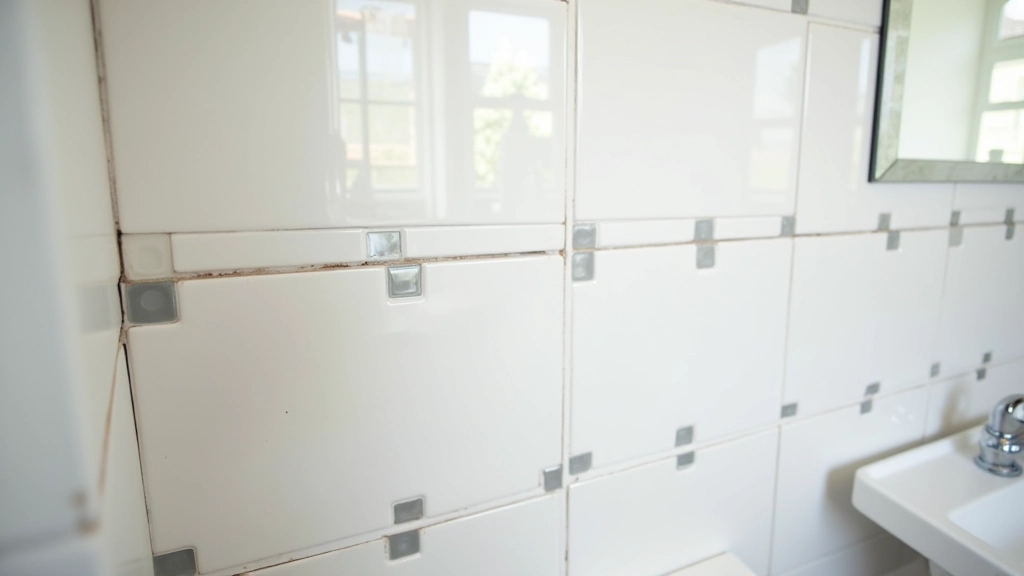
Lippage — the difference in height between adjacent tiles — ruins the look. Even if everything's level, if edges aren't aligned, it looks off. Tile leveling systems (clips and wedges) cost 30-40 quid and save hours of frustration. They keep all tiles in one plane while mortar sets. Worth every penny for large areas.
Don't start grouting for at least 24 hours. Mortar needs that time to cure properly. Walk on it, but don't put stress on it. Once it's fully set, remove spacers and you're ready for grout. The tiles should be solid — no movement when you press them.
Common Mistakes to Avoid
Skipping Substrate Prep
Uneven surfaces cause tiles to rock, crack, and fail. Spend the time here. It's the foundation of everything that comes after.
Wrong Mortar Mix
Too thick and tiles won't bed properly. Too thin and they'll sag. Get the consistency right before you start spreading.
Inconsistent Spacing
Eyeballing grout lines is tempting and wrong. Spacers keep everything uniform and looking professional.
Not Checking Level
Every few tiles, verify level in both directions. Small corrections now prevent large problems later.
Rushing to Grout
Mortar needs 24 hours minimum to cure. Grouting early weakens the installation and causes failures.
Getting It Right
Installing tiles properly isn't complicated, but it does require patience and attention to detail. The substrate has to be sound. The mortar has to be the right consistency. The layout has to be planned. Spacing has to be uniform. And you've got to verify level constantly. Do these things and you'll have tiles that last decades without problems. Rush any of them and you're looking at issues within months.
The difference between amateur and professional work is often just time spent on the details. A couple extra hours on prep and checking makes all the difference in how your bathroom looks and performs.