
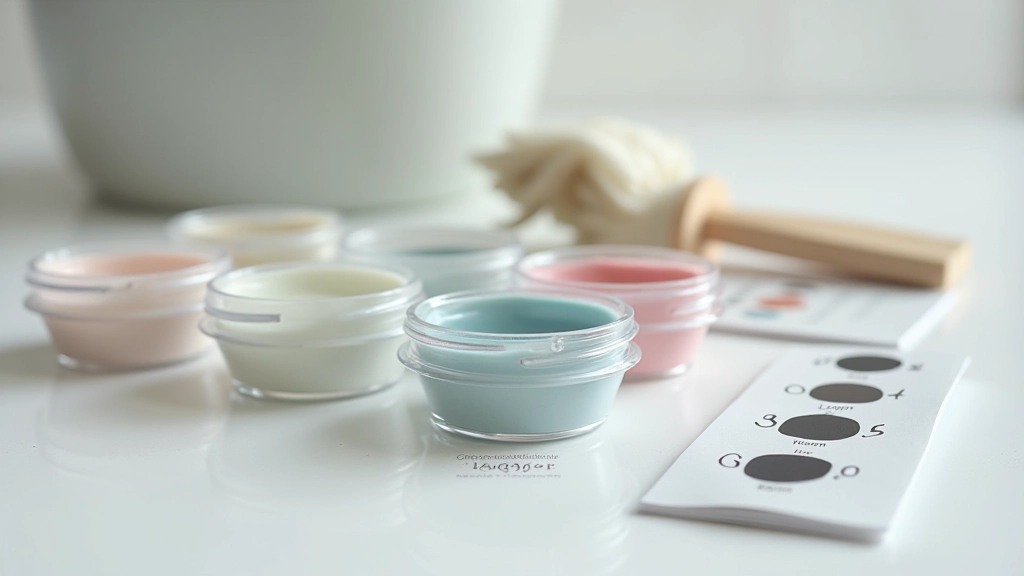
Why Grout Matters More Than You Think
Grout is the unsung hero of any tile installation. It's not just about appearance — it's your bathroom's defense against moisture. Pick the wrong grout or apply it poorly, and you're looking at mold, deteriorating tile beds, and costly repairs down the line. The good news? Getting it right isn't complicated once you understand the basics.
We're going to walk you through the main types of grout, how they compare, and the practical steps to apply them correctly. You'll learn which option works best for different areas of your bathroom, and what mistakes to avoid.
Cement Grout vs Epoxy Grout
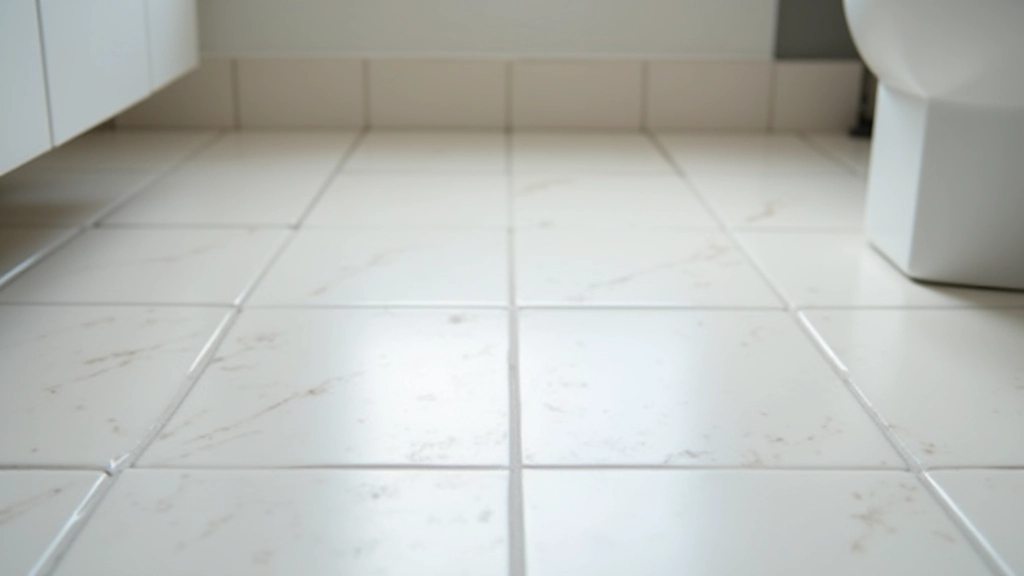
The two main contenders for bathroom work are cement-based and epoxy. Cement grout — including standard Portland cement and polymer-modified versions — is what most DIYers are familiar with. It's affordable, easy to work with, and comes in hundreds of colors. But it's porous, which means it absorbs water and stains if you're not diligent about sealing it.
Epoxy grout is a different beast. It's waterproof by nature, stain-resistant, and more durable. The tradeoff? It's messier to work with, requires careful cleanup, costs 2-3 times more, and isn't forgiving if you make mistakes. For bathrooms, especially shower areas and floors that'll see regular moisture, epoxy is the stronger choice — but it demands patience and precision.
Quick rule: Epoxy for high-moisture areas (showers, floors). Cement with a quality sealer for walls and lower-moisture zones if budget is tight.
Informational Note: This guide covers general bathroom tiling principles. Specific installation requirements vary by location, local building codes, and substrate conditions. For structural or complex installations, consulting a professional tiler is always a good idea.
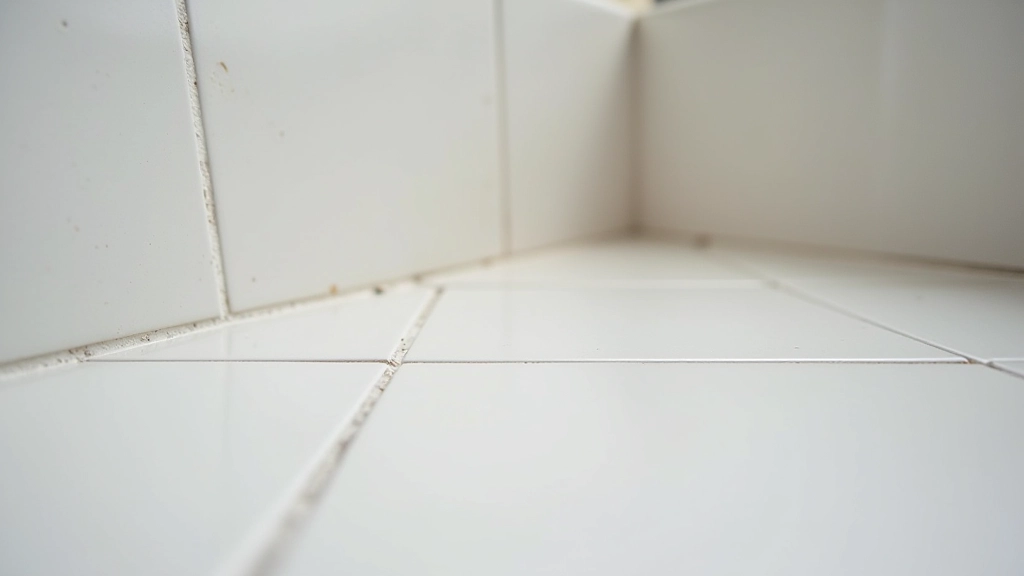
Preparation is Everything
Before you even open a bag of grout, your tiles need to be set and your joints need to be clean. Any dust, debris, or leftover thinset in the grout lines will weaken your finished grout. Use a grout rake or a flathead screwdriver to clean out joints as you go — don't wait until all tiles are laid. Most professionals recommend joints that are 1/8 to 1/4 inch wide for standard tiles. Wider joints need more grout and can look less refined.
Let your thinset cure fully before grouting. Most products need 24-48 hours, but check your specific thinset instructions. Rushing this step is a common mistake that leads to grout failure and tile movement. The substrate underneath needs to be stable and dry.
Explore Related Topics
Choosing the Right Tiles for Your Bathroom
Understand ceramic versus porcelain, sizing options, and durability ratings. We'll help you select tiles that work for your space and budget.
Removing Old Tiles: Tools and Technique
Step-by-step breakdown of safely removing existing tiles without damaging the walls or substrate underneath.
Installing New Tiles: Mortar and Layout
Proper substrate preparation, mortar mixing, and tile placement. We'll walk through the installation process step by step.
The Application Process
Mix your grout to the right consistency — it should be like peanut butter, not runny soup. You'll be pressing it into joints with a grout float held at a 45-degree angle. Work diagonally across tiles rather than along the joints. This technique forces grout deep into the gaps while minimizing excess.
With cement grout, you've got about 30 minutes before it starts setting. With epoxy, you'll have less working time. Don't panic — this is normal. After the initial set (usually 15-20 minutes), you'll come back and clean excess grout from tile faces with a damp sponge. This step determines whether your finished job looks professional or sloppy. Use gentle circular motions and rinse your sponge frequently.
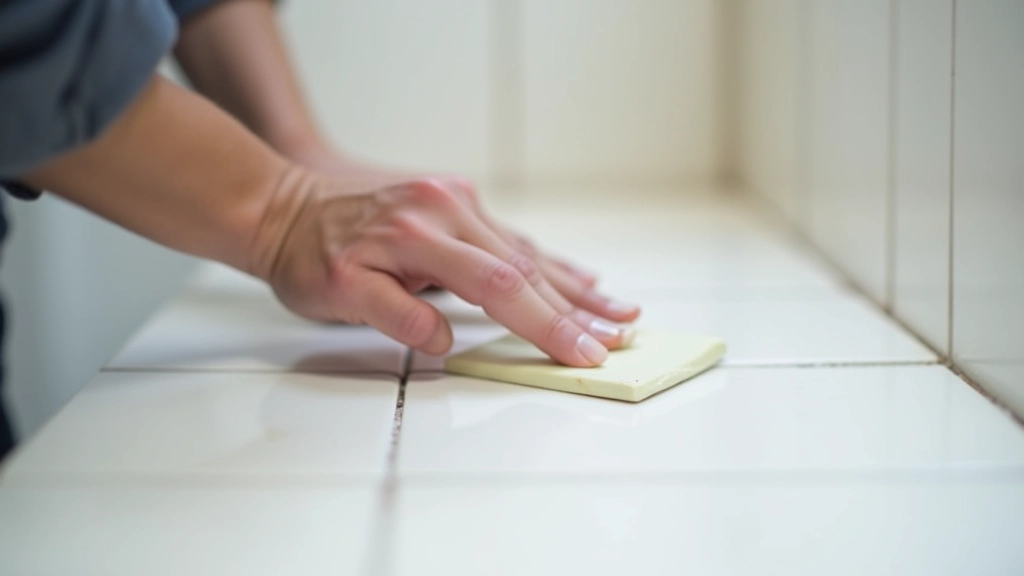
Common Mistakes to Avoid
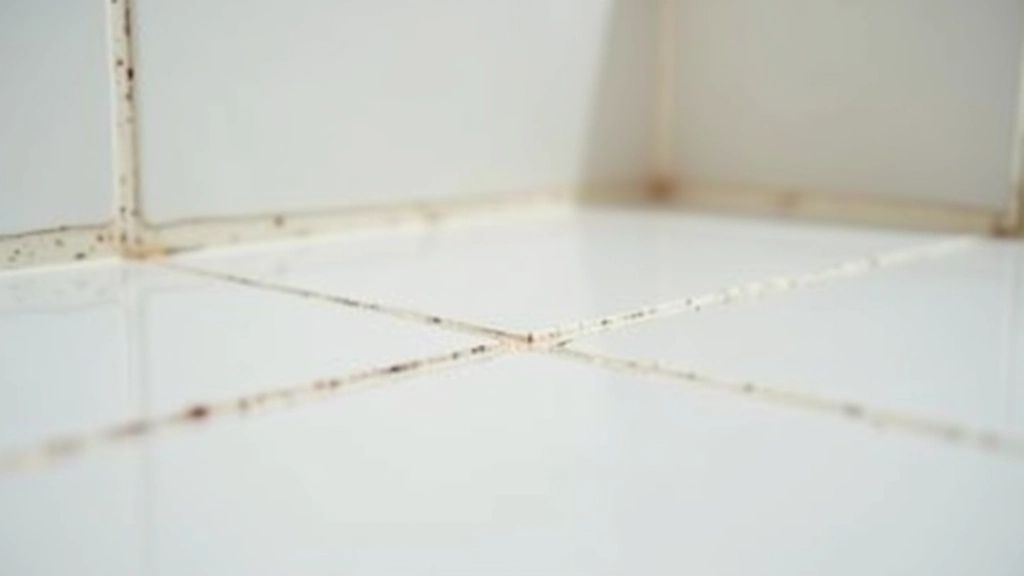
The biggest mistake is skipping sealer on cement grout in wet areas. Unsealed cement grout will stain, absorb water, and deteriorate over time. After your grout cures (usually 72 hours), apply a quality penetrating sealer. It's not optional in bathrooms — it's essential maintenance.
Another common issue? Overly thick grout application or joints that are too wide. Not only does this use excess material and cost more, but wider joints are also more prone to cracking and look less refined. Stay in that 1/8 to 1/4 inch range. Also, don't rush the curing time. Walking on floors or exposing grout to water before it's fully set will compromise everything you've done.
Seal the Deal
Grout might seem like a minor detail compared to picking out tiles, but it's actually where many DIY projects fail. You've invested in materials and time — don't undercut yourself with careless grouting. Take the time to prep joints properly, mix to the right consistency, apply methodically, and clean thoroughly. Whether you're going with epoxy or sealed cement grout, the fundamentals are the same: cleanliness, patience, and attention to detail.
Your bathroom will thank you for years to come. A well-grouted tile installation isn't just about looks — it's about durability and protecting your investment from moisture damage. You've got this.